One-Piece vs Assembled 3D Prints: How to Order Large Parts
The largest part we print in one piece, and how bigger parts are split, joined, finished and shipped: orientation, seams, joints, adhesives and packaging.
The Short Answer
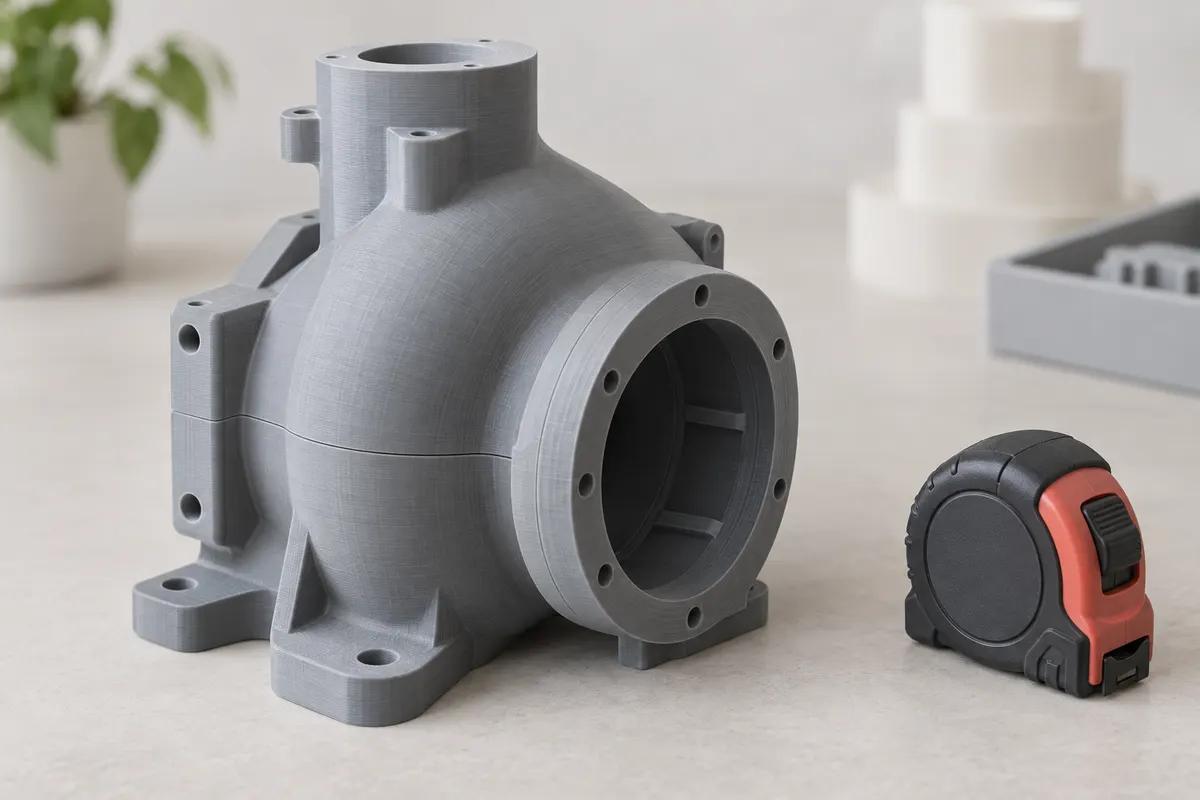
The largest part we print in one piece is FDM 350 × 320 × 325 mm or SLA 353.2 × 198.7 × 400 mm, and the size check considers every orientation. A bigger part can still be made as an assembly: printed in sections, aligned with pins or keyed features, and joined with adhesive, fasteners or both. A part past the one-piece limit gets no instant price; it goes to large-format review, where it can be split into sections and assembled. The decisions that are yours are where a seam is acceptable, how it should carry load, and how it should look.
One Piece vs an Assembled Model
Two different numbers get called the maximum size of a 3D print. One is the envelope a printer can build in one piece, which is fixed. The other is the size of an assembled model, which has no single-print limit, because each section only has to fit the envelope. A large assembled model is not a bigger print. It is several prints plus the joints between them, and each joint is a design feature with its own strength, accuracy and appearance.
| Consideration | One piece | Assembled sections |
|---|---|---|
| Size | Within the envelope | Larger than the envelope |
| Quote | Instant price | Large-format review |
| Load path | Continuous material | Through joints, adhesive or fasteners |
| Accuracy | One part's tolerance | Tolerances add up across sections |
| Appearance | No seams | Seams, unless finished |
| Shipping | One box sized to the part | Sections can ship loose |
Will It Fit in One Piece?
The size check sorts the part's three measured dimensions and compares them with the envelope's, so it does not matter which way up you drew the part. A part fits when each sorted dimension is within the matching limit for FDM or SLA:
| Process | Longest side | Middle side | Shortest side |
|---|---|---|---|
| FDM | 350 mm | 325 mm | 320 mm |
| SLA | 400 mm | 353.2 mm | 198.7 mm |
Reading the Envelope
- Hypothetical example: a 340 × 260 × 210 mm housing fits FDM in one piece (340, 260 and 210 are within 350, 325 and 320) but not SLA, because its shortest side is over 198.7 mm.
- Hypothetical example: a 380 × 150 × 100 mm rail is too long for FDM in one piece but fits SLA, whose longest side is 400 mm.
- Dimensions are measured along the X, Y and Z axes of the part as drawn. A long part modeled at an angle to the axes measures larger than it is, so if a part is close to the limit, align it with the axes before export.
- Each part is checked against the envelope of its own process, so one order can hold a small SLA part and a large FDM part.
- Check the units before anything else. A file read at the wrong scale can look oversize when it is not (STL units and scale).
Orientation: Fit Is Not the Only Reason
Orientation decides more than whether a part fits. On FDM it sets the layer direction, which affects how a part carries load (print orientation and strength), and on both processes it decides which faces carry support marks. On a sectioned part, every section gets its own orientation, so a well-placed split can let each piece print in the direction that suits its loads and its visible faces.
Where to Split a Large Part
You can send the whole model at full size for large-format review, or split it in CAD yourself when you need control over exactly where seams fall. Either way, mark which faces are cosmetic, where a seam is acceptable, and what loads the part sees, because that information shapes the split more than the geometry does. The rules that hold for most parts:
- Split across a small, simple cross-section, where a joint is easiest to align and reinforce.
- Keep seams away from the most heavily loaded regions, and away from sealing faces, hinges and snap features.
- Put seams on existing edges, steps or feature lines, where they read as part of the design.
- Keep cosmetic faces whole where you can.
- Use as few sections as the envelope allows. Every seam adds alignment, bonding and finishing work.
- Leave room at each joint for alignment features and enough bond area. A seam cut straight through a thin wall has very little surface to bond.
Joint Types for Printed Sections
Most sectioned parts pair an alignment feature with a joint that carries the load. The common choices:
| Joint | What it does | Good for |
|---|---|---|
| Dowel or printed pins | Locates sections; carries little load alone | Alignment while bonding |
| Dovetail | Slides together, locks in one direction | Rails, panels, long parts |
| Lap joint | Overlaps sections so the bond works in shear | Bonded seams under load |
| Tongue and groove | Aligns sections and adds bond area | Panels, enclosure walls |
| Bolted flange | Carries load through fasteners; can come apart | Structural or serviceable seams |
Designing the Joint to Hold
Adhesive joints are strongest when loaded in shear or compression and weakest in peel and cleavage, where the stress concentrates at one edge of the bond. Henkel's design guide for bonding plastics also notes that, in a lap joint, widening the bond adds more strength than lengthening the overlap (Loctite Design Guide for Bonding Plastics). In practice:
- Arrange seams so service loads push sections together or slide them along the bond, not pry them apart.
- Locate sections with pins or keyed features. Two flat faces held by hand while adhesive cures are hard to keep in register.
- On structural seams, add a mechanical backup: bolts through a flange, ideally into threaded inserts, which we install on FDM parts as a post-processing option.
- Give mating features clearance for both parts' tolerances. Typical published tolerances are FDM ±0.2 mm and SLA ±0.1 mm, geometry-dependent and not a guarantee, so a fit drawn line-to-line may not assemble. See tolerances and accuracy and snap-fit and press-fit assemblies.
Choosing an Adhesive
No single adhesive suits every printed plastic. Henkel's guide tested adhesive families on molded plastics and reports, among other findings:
- On ABS and ASA, several cyanoacrylate and light-cure adhesives made bonds stronger than the plastic itself in its tests. Structural acrylic adhesives also performed well on both, as did several epoxies on ABS.
- Uncured cyanoacrylate can stress-crack ABS and ASA, and the guide flags a stress-cracking risk on polycarbonate too, so excess adhesive should be removed right away.
- Anaerobic adhesives are listed as incompatible with ABS, ASA and polycarbonate.
- Unprimed, unabraded polypropylene bonded poorly with most adhesives tested; a primer made the difference.
- A more flexible adhesive spreads stress along a lap joint, but one that is too flexible may let the joint deform under structural load.
- These results come from molded test pieces. A printed surface differs, and FDM parts have layer lines, so bond and break a test coupon printed in the same material and process, such as ABS or ASA, before committing a large assembly.
Finishing the Seams
A bonded seam shows as a line unless it is finished. On a functional part that is usually acceptable. On a presentation part, plan for it: place seams on edges or feature lines, or design a small deliberate groove at the seam so it reads as a design line rather than a flaw. Hiding a seam completely means filling and sanding it, then painting, usually across the whole face so the color matches. Sanding, painting, vapor smoothing (ABS and ASA), dyeing, threaded insert installation and assembly are post-processing options for FDM parts, quoted on request; the post-processing guide covers each one.
Packaging and Shipping Large Parts
Large parts ship from Fort Lauderdale, Florida, and box size matters as much as weight. Parcel carriers can bill a large, light box by its dimensions rather than its weight: USPS, for example, applies dimensional weight to packages larger than one cubic foot and adds fees for parcels longer than 22 inches (USPS). That gives sectioned parts a practical advantage:
- Sections can ship loose and nested in a smaller box, then be assembled where the part will be used.
- A bonded assembly needs a box sized to the whole part, with support along its length so the seams are not loaded in transit.
- Long, slim assemblies are the most exposed to bending in a parcel. Shipping them as sections keeps load off the seams.
- Say whether you want the part assembled or shipped as sections. The shipping policy covers how orders ship.
Keeping a Large Part Affordable
Volume drives material and print time, so large parts reward design discipline. Shell big parts and stiffen them with ribs instead of leaving them solid. Do not add sections beyond what the envelope requires, because every seam adds work. Where a part fits one process in one piece and not the other, compare both on the quote page. A free printability review, in which an engineer checks walls, tolerances, orientation and material choice at no cost and with no obligation to order, can catch a wall or a split that makes a large part harder than it needs to be. Design changes themselves are a separate service, quoted per project before work starts (3D modeling services).
How to Order a Large Part
- Upload the model at full size on the quote page and check the measured size against a dimension you know.
- Choose the process, material, color and quantity for each part. A part that fits in one piece gets an instant price.
- A part that does not fit in any orientation goes to large-format review instead, where it can be split into sections and assembled.
- Tell us which faces are cosmetic, where seams are acceptable, what loads the part carries, and whether you want it assembled or shipped as sections.
- Ordering for a business? We accept purchase orders.
Frequently asked questions
What is the largest part you can 3D print in one piece?
Can you make a part bigger than that?
Is an assembled part as strong as a one-piece part?
Should I split the model myself before uploading?
Can a large part ship assembled?
Sources
Upload your large part at full size
If it fits in one piece, you get an instant price. If it does not, it goes to large-format review for sectioning and assembly.
Upload your model